When leaf blowing season ends, you may be tempted to store your leaf blower for the winter. Before you do, consider that this piece of equipment could be useful year-round. For example, you may be able to use it to clear away and melt light amounts of snow (less than an inch) in a pinch. Do this only if the temperature is below freezing, however, as wet snow may be too heavy to move with a leaf blower.
Additionally, it’s easy to maintain your leaf blower so it’s ready for use.
Consider these gas leaf blower maintenance and winter use tips to help keep your blower in great shape and ready for cleanup all year long. This is a general guide, and recommendations may not apply to all leaf blowers. Be sure to consult your operator’s manual for detailed instructions and recommendations specific to your leaf blower.
Maintain the Leaf Blower Air Filter
For many leaf blowers, maintaining the air filter is a cleanup item you’ll want to complete ideally after every 10 hours of use. It’s important to keep the air filters in gas leaf blowers in good condition to maintain the blower’s performance and help prevent damage to the engine.
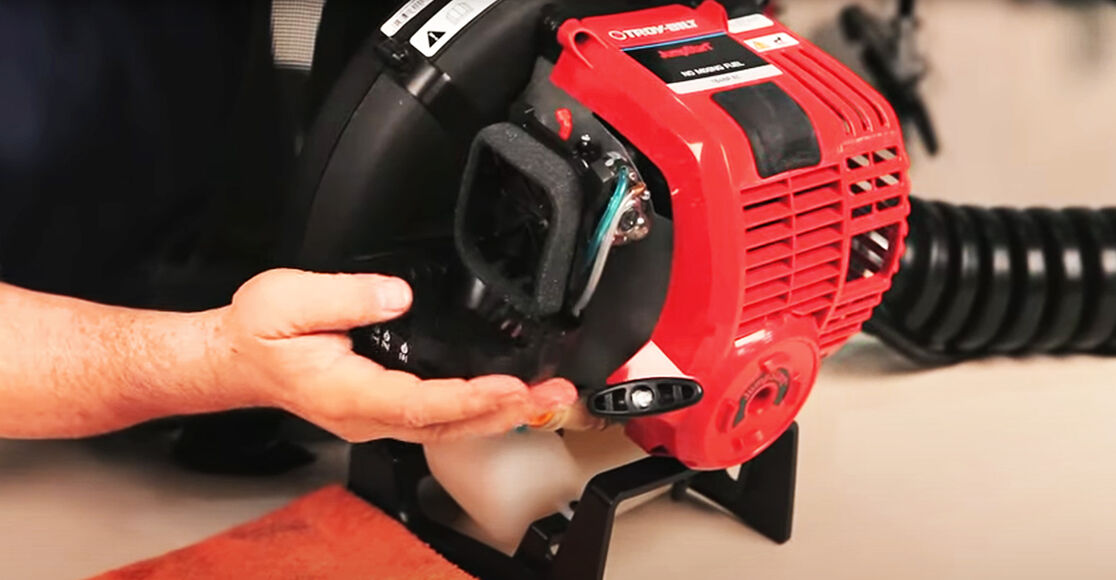
Knowing how to clean leaf blower air filters can extend the longevity of the blower’s fan, allowing for a consistent and strong pattern of air to be blown. To check the air filter’s condition, remove the air filter cover and turn it over to locate the air filter. To clean the filter, remove it from the unit and wash the filter using a mild detergent, such as regular dish soap and water. Rinse thoroughly and squeeze out excess water. Allow it to dry completely, then lightly coat it with clean SAE 30 oil, if recommended for your model. Squeeze the air filter to spread and remove excess oil, then place it back in the unit and replace the air filter cover.
Check the Leaf Blower Spark Plug
The leaf blower spark plug is the key to igniting the engine. If it’s damaged, then your leaf blower’s engine may not start or run at optimum efficiency. You’ll want to maintain the spark plug about every 25 hours of use. To remove the spark plug from your gas leaf blower, stop the engine and allow it to cool, then grasp the spark plug boot firmly and pull it from the spark plug. Clean around the spark plug, then remove it from the cylinder head with a 5/8-inch socket – make sure you do not sand blast, scrape or clean the spark plug electrodes, because grit in the engine could damage the cylinder.
Inspect the leaf blower spark plug to see if it’s cracked, fouled or dirty. If it is, then replace it. Leaf blower spark plug size differs for some brands so consult your operator’s manual. Then, use a feeler gauge to set the air gap as directed by your operator’s manual. For many Troy-Bilt models, the gap is 0.025 inches. Then, reinstall the spark plug in the cylinder head and reattach the spark plug boot.
Change the Leaf Blower Oil
When it’s time to change the oil, make sure the unit is warm so the oil can drain completely. Remove the oil fill plug and drain the oil by tipping the unit onto its side so the oil drains into a cache container. Depending on the brand of leaf blower, the oil mix ratio can differ. Many Troy-Bilt leaf blowers call for 90 milliliters of new SAE 30 oil, added slowly. Replace the oil cap and wipe any excess oil from the housing.